Install and Configure phpMyAdmin with Nginx on CentOS 7
Today, I’ll show you how to Install and Configure phpMyAdmin with Nginx on CentOS 7. Let’s follow these steps:
 \
\Step 1 : Login to Server
At first, we need to login to our server via SSH. Open your terminal and run this command:
Step 2 : Install phpMyAdmin
First, we need to install EPEL repository. By typing this command, install EPEL repository if not installed:
After installing EPEL repository, now we can install phpMyAdmin by typing this command:
We have successfully installed phpMyAdmin to our server. We need to create a symbolic link from the installation files to our Nginx document root directory. Hit this command:
Now, restart the PHP processor:
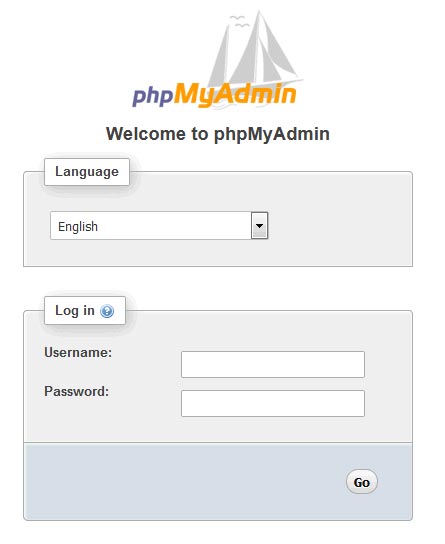
To access the phpMyAdmin interface type this on a browser:
http://server_ip/phpMyAdmin
Step 3 : Configure phpMyAdmin
If you notice an error like this ‘needs blowfish_secret passphrase‘, then you need to add blowfish_secret to the phpMyAdmin configuration file.

Open /usr/share/nginx/html/phpMyAdmin/libraries/config.default.php and add a secret passphrase here:
$cfg['blowfish_secret'] = ''; /* YOU MUST FILL IN THIS FOR COOKIE AUTH! */
You can use this tool to generate the passphrase BLOWFISH PASSWORD HASH GENERATOR.
That’s it. Thank you.
